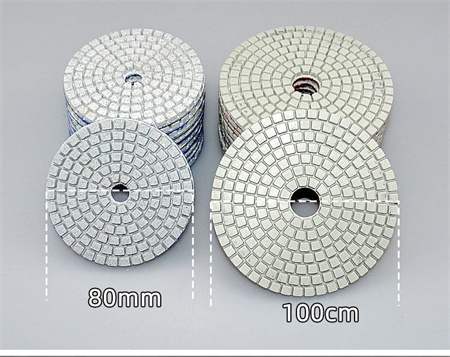
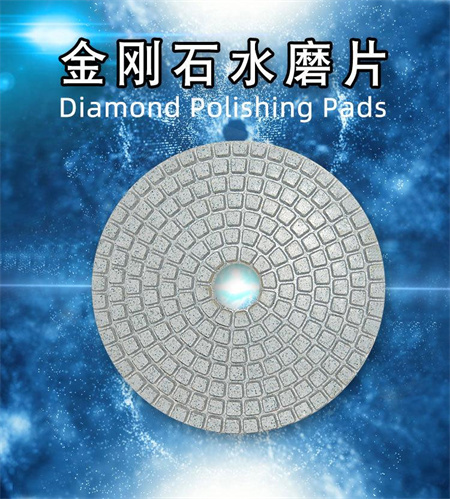
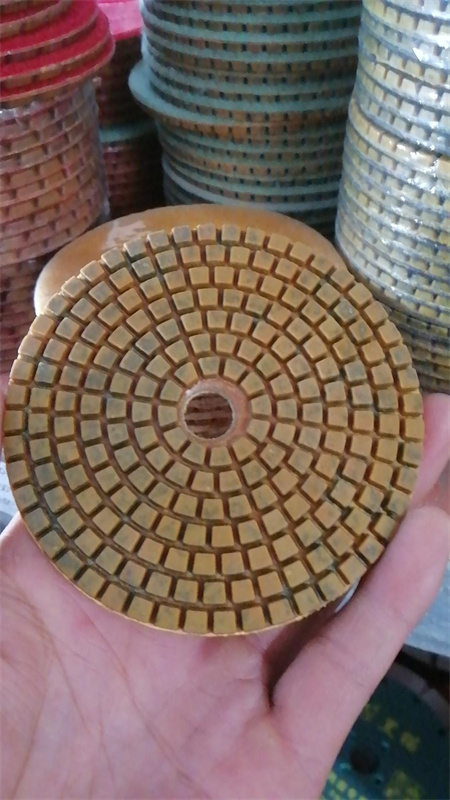
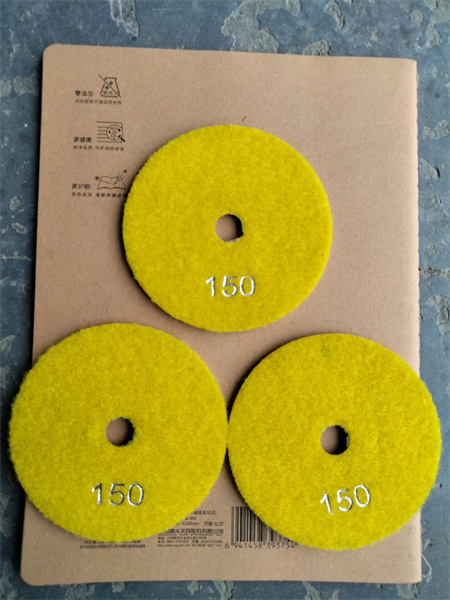
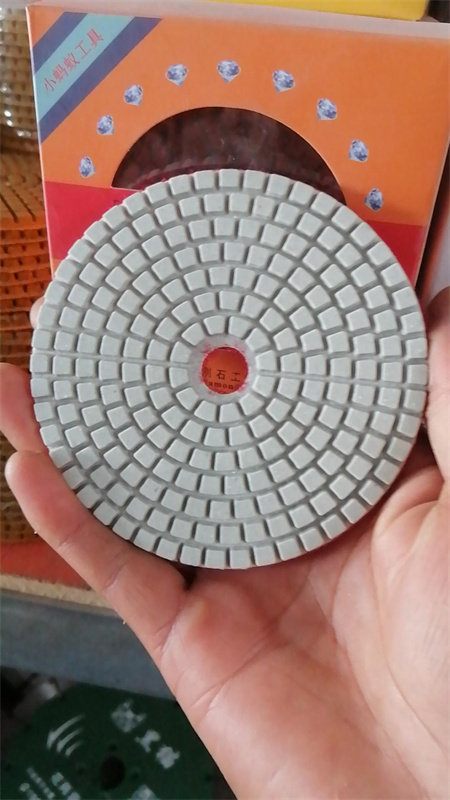
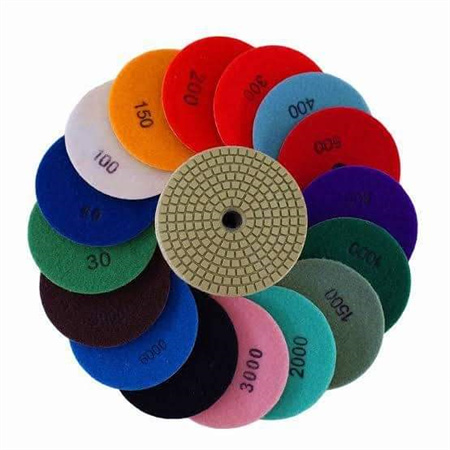
When it comes to countertop restoration, finding the right tools and supplies is key to achieving impeccable results. For companies in the business of restoring countertops, metal bond polishing pads have become an essential item. As an exporter of these high-quality pads, we understand how important it is for restoration professionals to have access to reliable, durable, and efficient tools. Metal bond polishing pads stand out because of their ability to offer superior performance, making them the preferred choice for those in the countertop restoration industry.
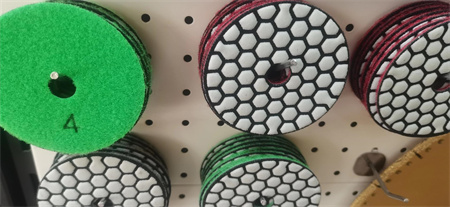
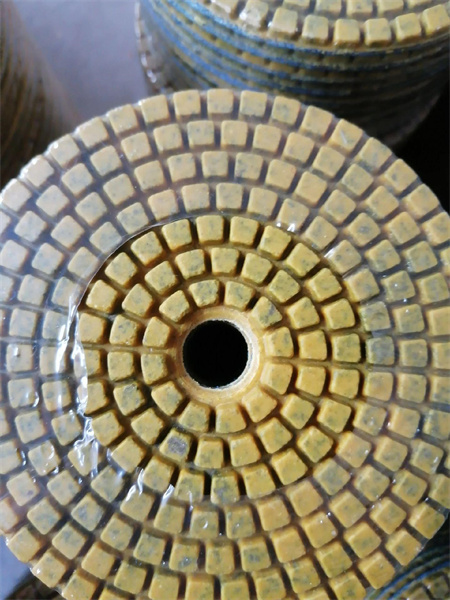
These polishing pads are designed with metal bonds that ensure long-lasting durability. Unlike traditional resin bond pads, metal bond pads can withstand more aggressive grinding and polishing without wearing down quickly. This makes them ideal for restoring countertops made from materials such as granite, marble, and quartz. By using metal bond pads, restoration companies can achieve a flawless finish without having to constantly replace their tools, which can save both time and money in the long run.
The benefits of choosing metal bond polishing pads are clear. For one, they help achieve a smoother surface, bringing out the natural beauty of the countertop material. Whether you are working on a heavily damaged countertop or simply need to bring back its shine, metal bond polishing pads can handle the task. Their robust design also allows them to work more effectively on tough, harder materials. This is why many countertop restoration professionals trust them for both residential and commercial projects.
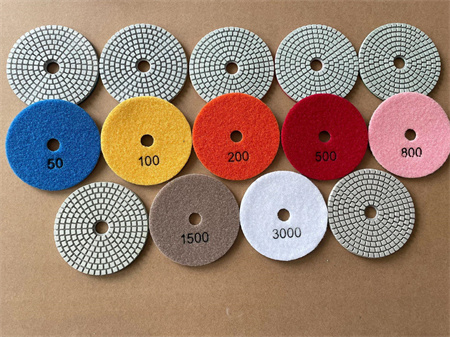
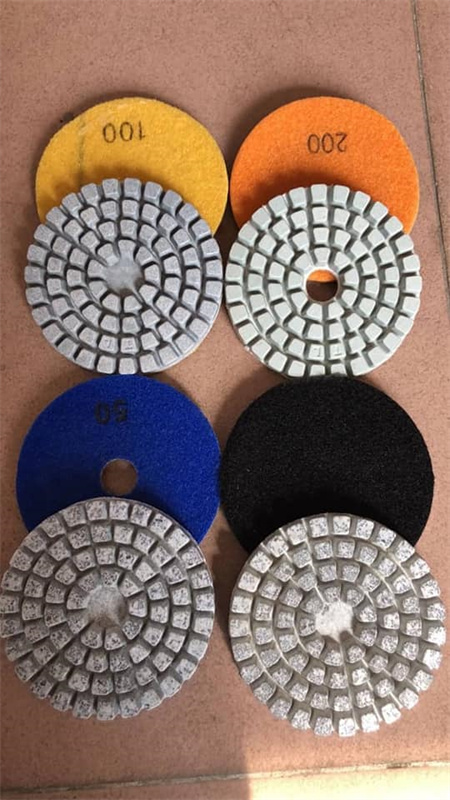
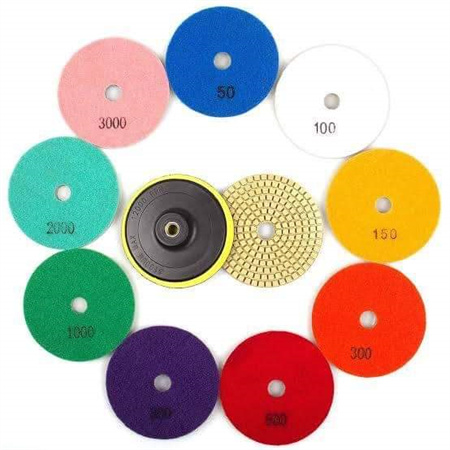
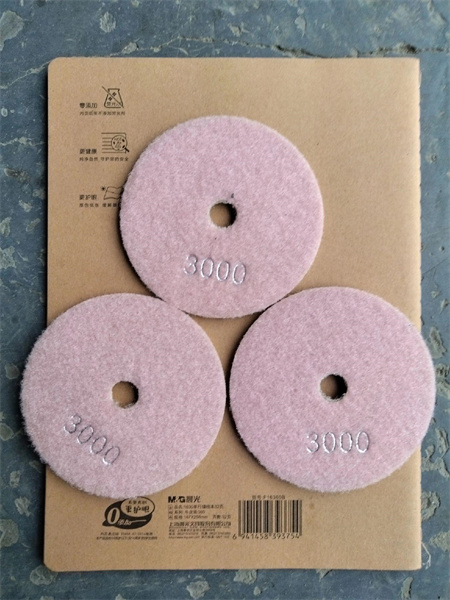
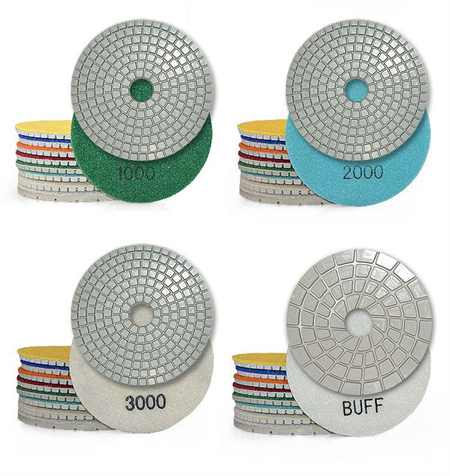
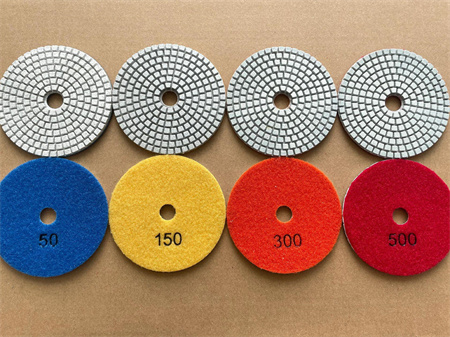
In addition to their impressive performance, these polishing pads are available in a range of grit sizes, which means restoration companies can find the right pad for each specific job. From heavy-duty grinding to final polishing, these pads provide versatility in their application. As an exporter, we offer a wide selection of these pads to meet the needs of countertop restoration businesses. We prioritize quality and ensure that every pad we export meets rigorous industry standards.
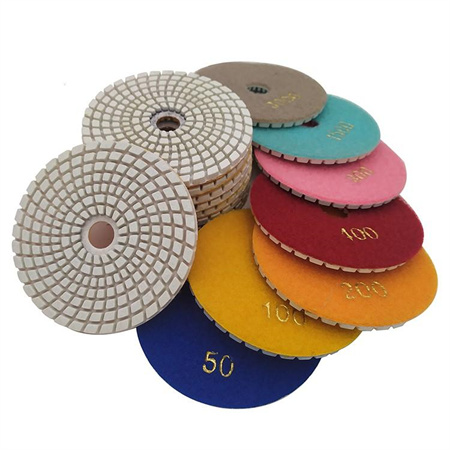
For countertop restoration companies looking for tools that deliver consistent and excellent results, metal bond polishing pads are the answer. Their superior performance, durability, and versatility make them an indispensable part of any restoration project. We take pride in supplying these essential tools to companies around the world, helping them achieve the high-quality finishes their clients expect.


