Preparing Surfaces Before Using Diamond Polishing Pads
When it comes to achieving a perfect, glossy finish on any surface, diamond polishing pads are often the go-to tool. Whether you’re working on concrete, marble, granite, or other stone surfaces, diamond pads can give your project a high-quality, smooth, and professional look. However, before diving into the polishing process, there are crucial steps you need to take to ensure the surface is properly prepared. This preparation is key to achieving optimal results and prolonging the lifespan of your pads. Skipping these steps might lead to uneven finishes, increased wear on the pads, or even potential damage to your surface.
The first step in surface preparation is always to thoroughly clean the area. Dust, dirt, and debris can interfere with the polishing process by causing scratching and other imperfections. This can be especially problematic when working with delicate materials like marble or granite. Use a strong vacuum to suck up any large particles and follow up with a mop or cleaning cloth soaked in a mild detergent solution. For stubborn stains or residues, a specialized cleaner may be necessary to ensure the surface is pristine before polishing begins. Keep in mind that any leftover cleaning solution can leave a residue, so rinse the surface thoroughly with clean water once it’s been wiped down.


Surface preparation also involves ensuring that the environment is conducive to effective polishing. Factors like temperature and humidity play a significant role in the process. High humidity can make surfaces slippery, affecting your ability to work efficiently. If you’re working indoors, ensure that the area is well-ventilated to avoid inhaling dust or fumes from cleaning agents. For outdoor jobs, try to pick a dry day, as excess moisture on the surface will hinder the effectiveness of the diamond polishing pads. A controlled temperature environment is ideal, as it allows for the consistent application of pressure while polishing.

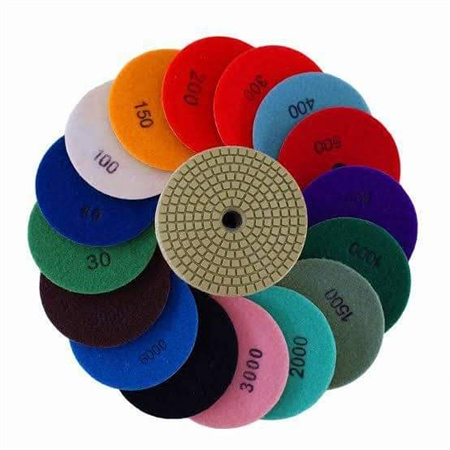
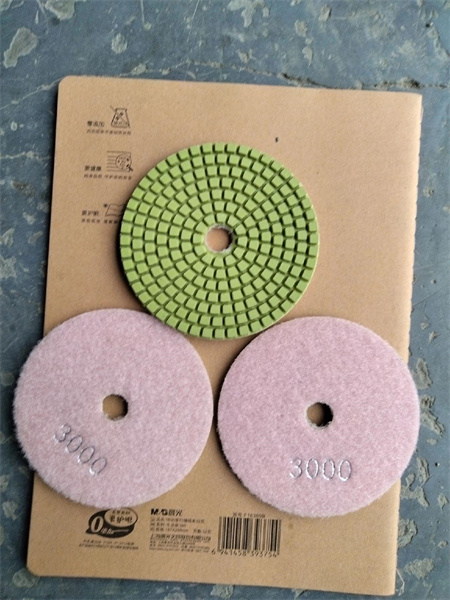
Now that the surface is ready, it’s time to think about the type of diamond polishing pads you’ll use. Depending on the material and the level of finish you desire, you might need different grits, ranging from coarse to fine. Coarser grits (usually around 50-200) are used for heavier grinding, while finer grits (over 300) are ideal for achieving that glossy, mirror-like finish. Make sure you’re using the right pads for your specific material to ensure the best results and avoid unnecessary damage. Always follow the manufacturer’s recommendations for pad selection and usage to get the most out of your tools.
In conclusion, preparing the surface properly before using diamond polishing pads is essential for achieving a smooth, flawless finish. By ensuring the surface is clean, repaired, and free from old coatings, you’ll set yourself up for a successful polishing process. Taking the time to address these details may seem like an extra effort, but the payoff in terms of quality and durability will be well worth it. So, before you start polishing, remember: preparation is the key to a perfect result.