How to Polish Limestone Using Diamond Tools
Polishing limestone may seem like a daunting task, but with the right approach and the right tools, it becomes a rewarding and satisfying project. Limestone is a beautiful, natural stone that adds a timeless elegance to any space, but it’s also relatively soft compared to other stone surfaces, which means it requires careful handling. To achieve a smooth, glossy finish on limestone, diamond tools are the way to go. These tools are perfect for grinding and polishing, providing both speed and precision. Here’s how to do it right, step by step.
Limestone has a porous texture, and over time, it can accumulate dirt and stains, which dull its natural luster. While you could use traditional polishing methods, diamond polishing pads offer a more efficient and durable solution, delivering a professional-quality result. The fine-grit diamond abrasives gradually smooth the stone’s surface without causing damage, revealing the stone’s true beauty.
Selecting the Right Diamond Tools
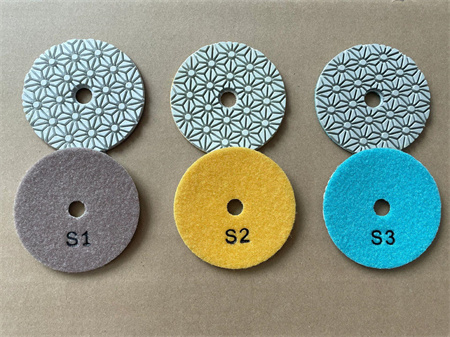
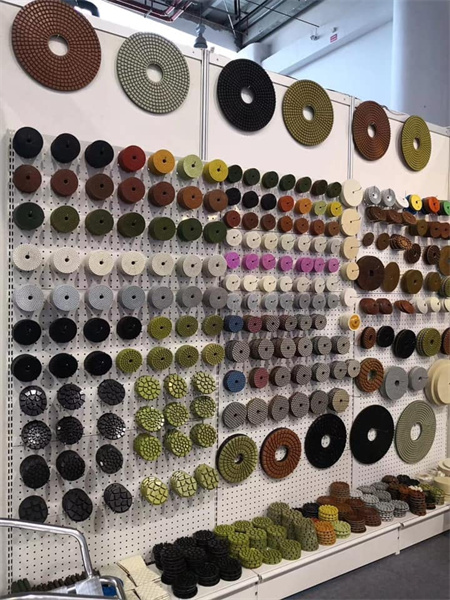
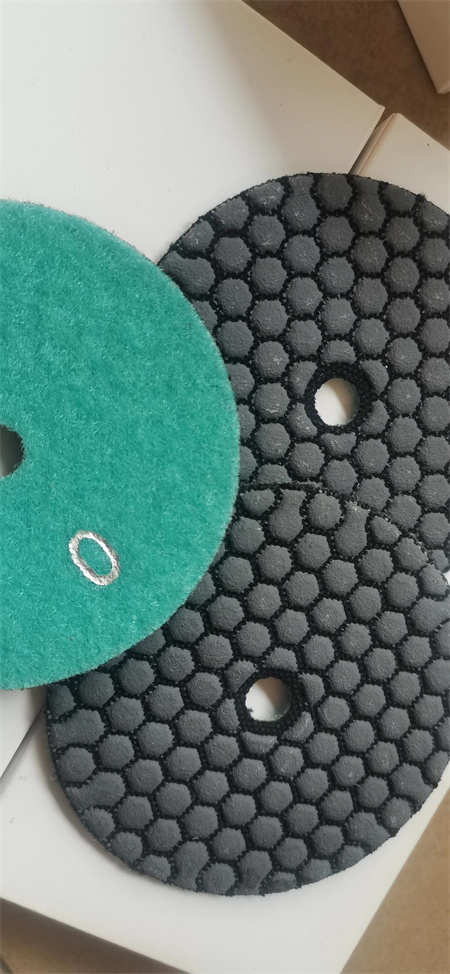
Before you start, it’s essential to choose the correct diamond tools. Diamond pads come in various grits, ranging from coarse to fine. Start with a lower grit for heavy grinding and work your way up to finer grits for polishing. For limestone, a typical progression might include 50-grit, 100-grit, 200-grit, and finally, 3000-grit pads. Additionally, you’ll need a variable-speed grinder or polisher. A machine with adjustable speed allows you to control the intensity and prevent overheating the stone.
Preparing the Limestone Surface
Begin by thoroughly cleaning the limestone surface. Sweep away any dust, dirt, and debris. If there are any stains or spots, consider using a stone-safe cleaner. This is crucial because any dirt or grime left behind can interfere with the polishing process, potentially scratching or damaging the stone.
Once the surface is clean, inspect the limestone for any cracks or chips. While diamond tools can smooth the surface, they can’t fix deep structural damage. If there are significant imperfections, these should be repaired first.
Grinding the Limestone
Now it’s time to start the grinding process. Attach the 50-grit diamond pad to your grinder. This coarse grit is ideal for removing surface blemishes, scratches, and uneven areas. Work in small sections and apply even pressure, moving the grinder in a circular or back-and-forth motion. Keep the pad flat against the stone, allowing the diamonds to slowly grind away imperfections. Don’t rush this step, as it’s important to ensure the surface is level and smooth before proceeding to the finer grits.
When grinding, it’s essential to keep the stone surface damp, as this helps prevent the buildup of heat and minimizes the risk of damage. You can use a spray bottle or a wet sponge to maintain moisture on the surface. If the stone starts to dry out, spray a little water to keep it cool. This step also helps reduce the dust generated during grinding.


Finishing Touches
When the polishing is complete, the limestone surface should have a smooth, almost glass-like finish. If you’re looking for extra sheen, you can use a polishing compound or a diamond resin pad. These products are designed to add an extra layer of gloss, making the stone look even more vibrant.
After polishing, let the limestone surface dry and settle. It’s important to let the stone breathe and allow any remaining moisture to evaporate. You can also apply a stone sealant to protect the polished surface from stains and moisture in the future. Sealants enhance the durability of the limestone and help maintain its polished look.
Tips for Success
1. Patience is key: Polishing limestone can take time, especially if the surface is in poor condition. Don’t rush the process; each step is essential for achieving a perfect finish.
2. Keep the surface wet: Maintaining moisture while working is crucial to prevent overheating and avoid damaging the stone.
3. Wear safety gear: Always wear safety goggles, gloves, and a dust mask to protect yourself from debris and dust.
4. Check your pads: Diamond pads wear down over time, so check them regularly and replace them when necessary. Using worn-out pads will reduce their effectiveness and may even cause damage to the limestone.
5. Test on a small area: If you’re unfamiliar with using diamond tools on limestone, test your technique on a small, inconspicuous area before working on the entire surface.
Polishing limestone with diamond tools is a precise, meticulous task that yields fantastic results. Whether you’re rejuvenating old countertops, flooring, or decorative features, these tools help bring out the beauty and depth of limestone, ensuring it remains a striking addition to any space for years to come. With the right equipment, patience, and technique, you’ll have a polished, gleaming surface that enhances the natural elegance of this timeless stone.